
Every event planner reaches the same moment: you need a lawn game that pulls people away from their phones and gets them laughing together, and someone suggests giant jenga. It works because it’s simple, photogenic, and scales from a corporate picnic to a full brand activation without losing its appeal. But once you start looking into it, the questions pile up fast: buy or build, what wood, what size blocks, and how it holds up after a hundred games in the sun.
This guide answers those questions directly about Giant Jenga. You’ll get a straight comparison of buying versus building, real dimensions and material specs to work from, and a step-by-step breakdown for a DIY build if you’ve got a weekend and a saw.
We also cover what changes when you’re planning for repeated commercial use rather than a single backyard party, since a set that survives one wedding won’t necessarily survive a trade show circuit. Whether you’re outfitting a single event or adding a durable, branded activation to your rental fleet, you’ll walk away knowing exactly which route fits your budget, timeline, and how often that set is going to get played.
What to know before you buy or build Giant Jenga
Before you touch a saw or click “add to cart,” nail down three things: size, block count, and usage frequency. These decisions shape every step that follows, and getting them wrong means either a set that feels flimsy at 4 feet tall or one so heavy nobody wants to reset it after a round.
Standard sizes and block counts for Giant Jenga
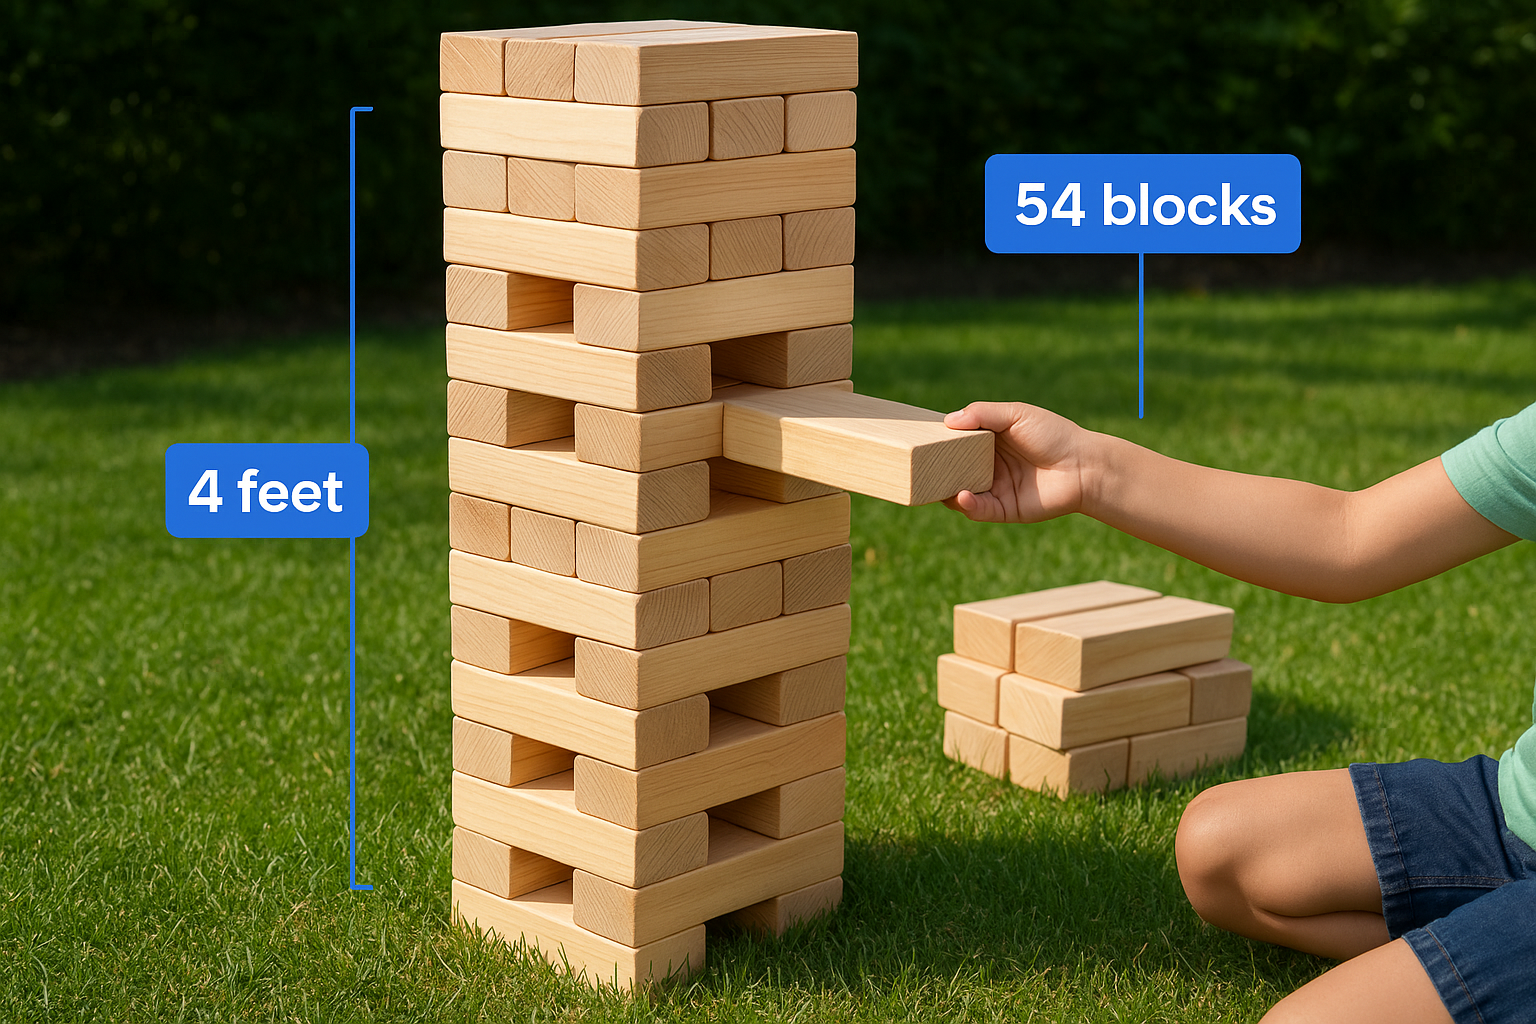
Most giant Jenga sets use 54 blocks, the same count as the tabletop version, just scaled up. The two most common builds are:
| Block Size | Stack Height (54 blocks) | Best For |
|---|---|---|
| 1.5″ x 2.5″ x 10″ | Roughly 4 feet | Kids’ events, indoor use, lighter builds |
| 2.5″ x 3.5″ x 14″ | Roughly 5 to 6 feet | Adult play, outdoor events, commercial rentals |
A giant Jenga set is only as good as its weakest block, so build for your heaviest expected player, not your average one.
Wood choice matters more than people think for Giant Jenga
Pine is the go-to choice because it’s affordable, lightweight, and easy to sand smooth. Cedar costs more but resists moisture and warping, which matters if the set lives outdoors between events. Avoid plywood or particleboard entirely. They splinter, delaminate in humidity, and won’t survive repeated stacking and toppling.
Frequency of use changes your math for Giant Jenga
A set built for one backyard party doesn’t need the same durability as one that’s getting loaded into a truck every weekend. If you’re planning repeated commercial use, factor in a hard-shell case, rounded block edges to prevent splinters against bare hands, and a finish that can handle grass stains, dirt, and the occasional rain shower. That single distinction, one-time party versus rental fleet asset, will steer nearly every choice you make in the steps ahead, from lumber grade to whether buying outright makes more financial sense than building.
Step 1. Decide whether to buy or build your Giant Jenga set
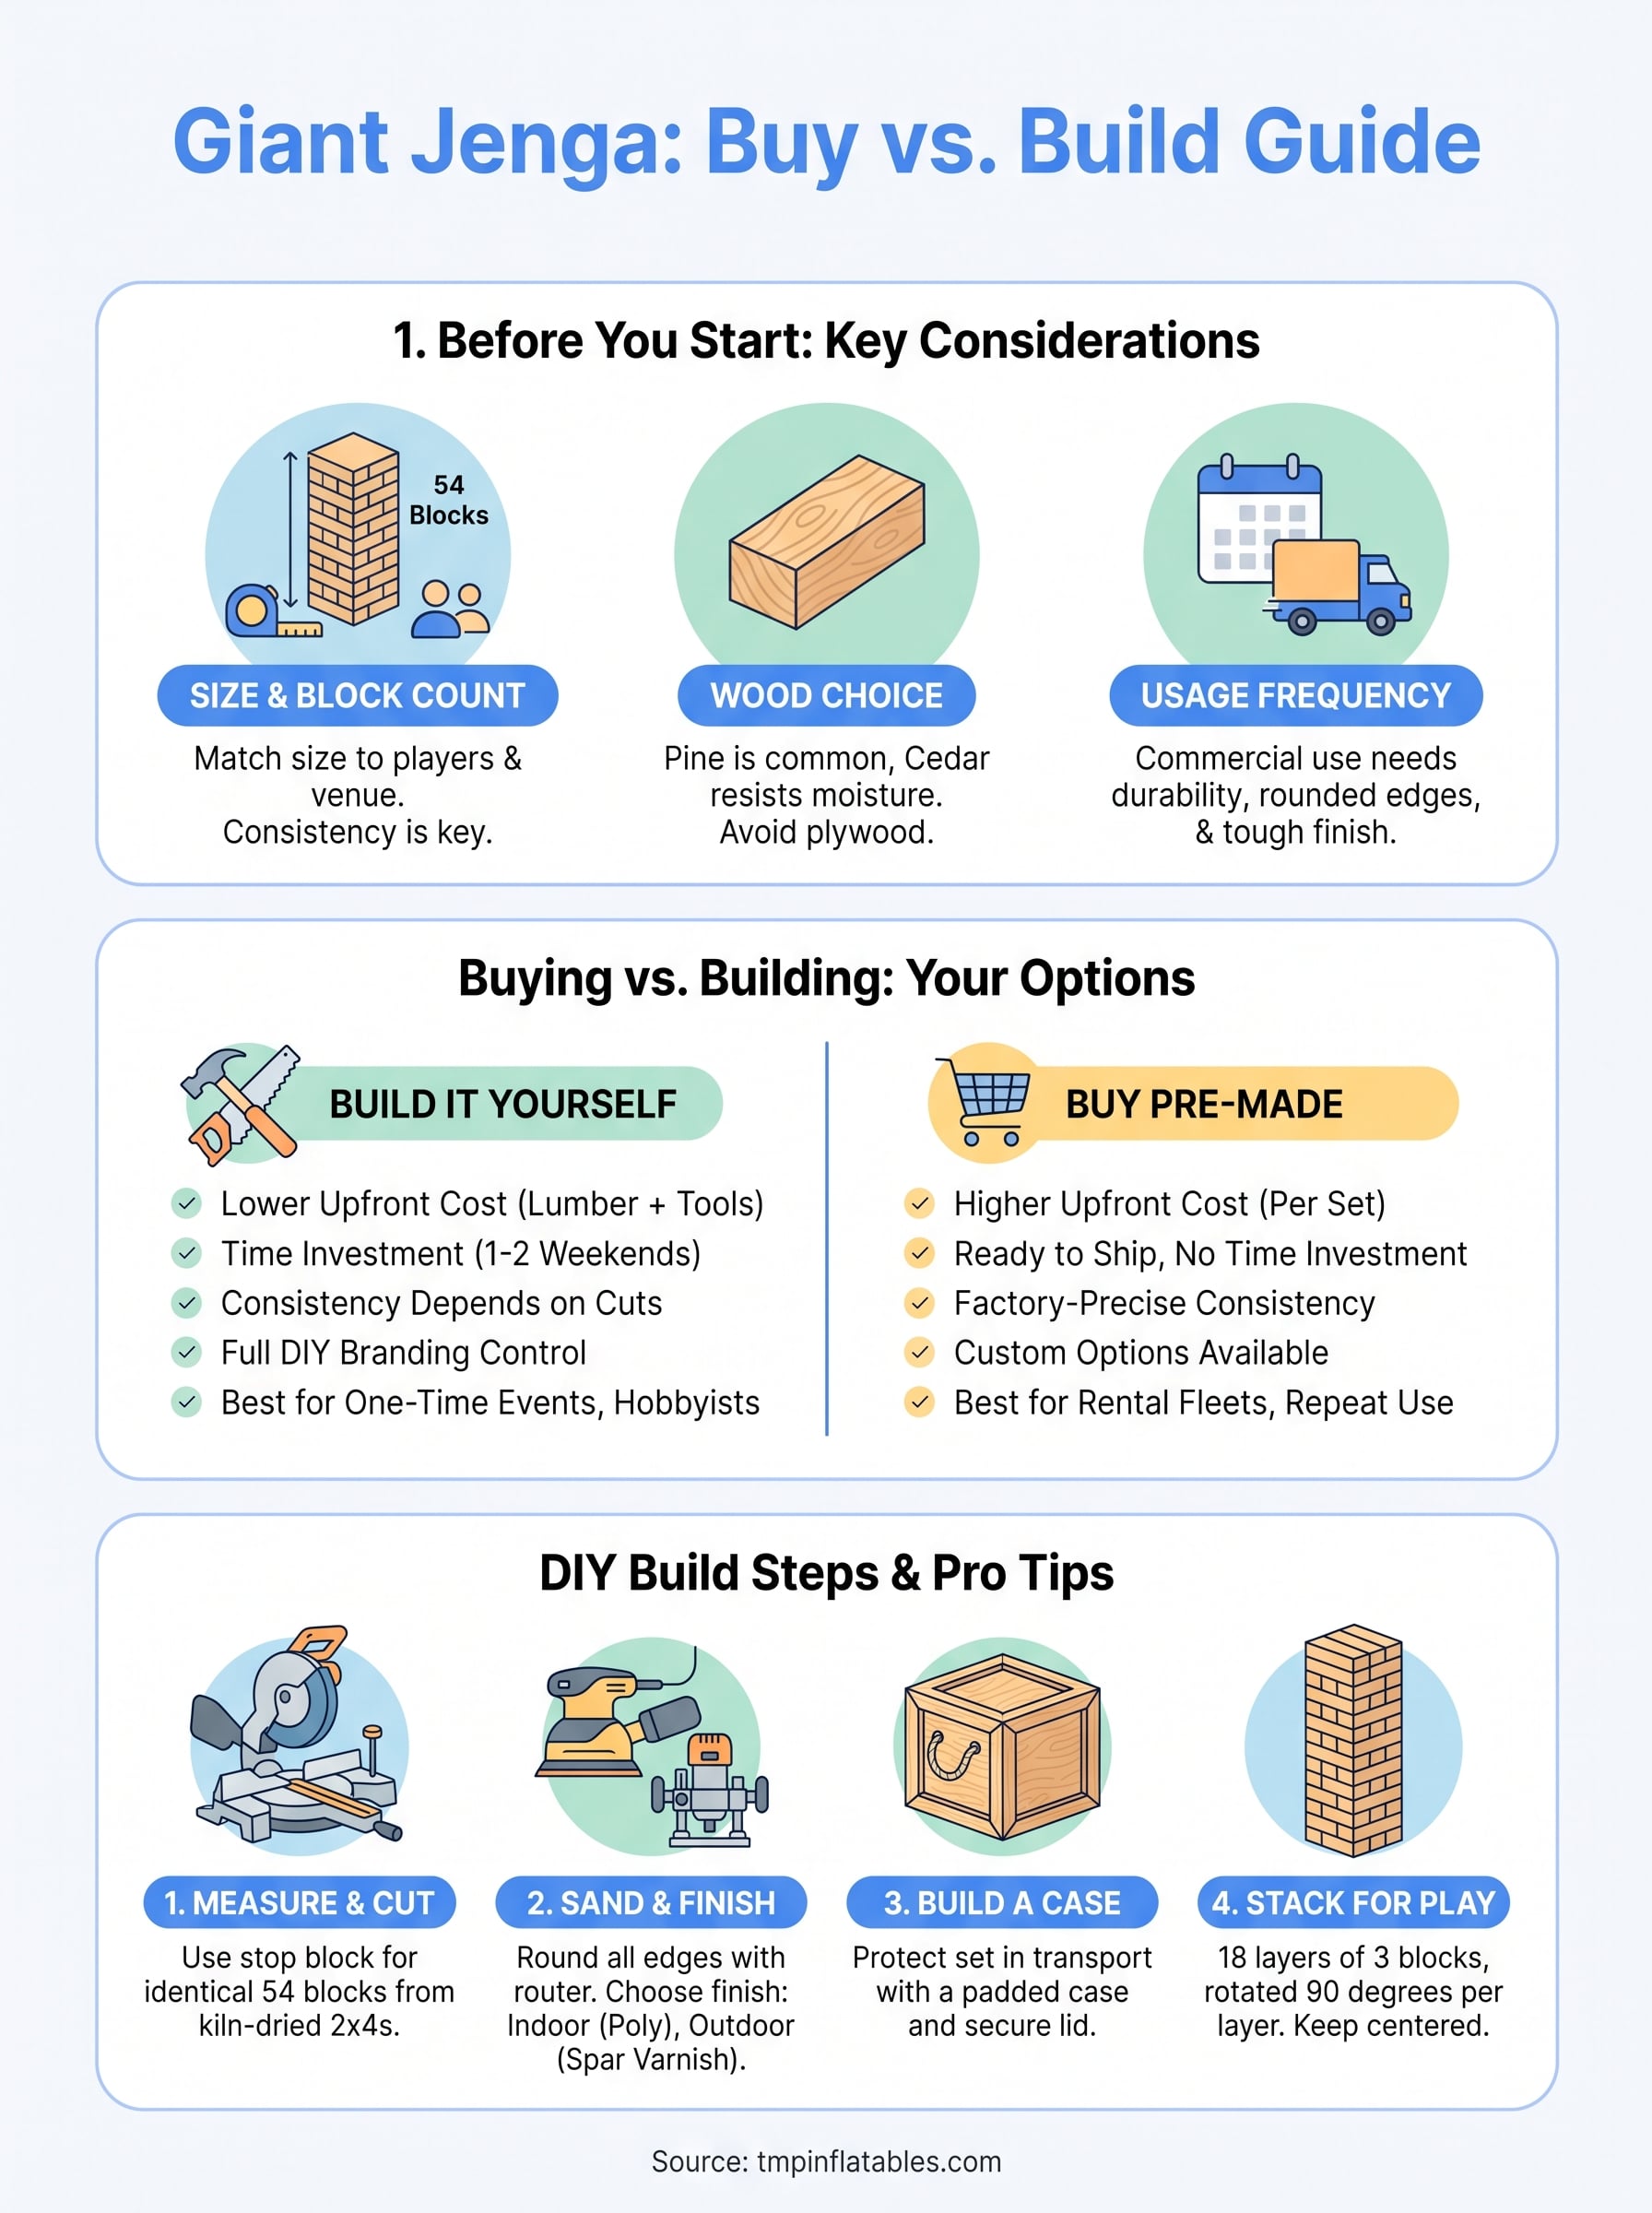
Before you buy lumber or open a catalog, be honest about your timeline and your carpentry skills. Building your own set costs less upfront and gives you full control over size and branding, but it eats a weekend and requires access to a table saw, sander, and a flat space to work. Buying a pre-made set costs more per unit but arrives ready to play, often with a case, and skips the trial-and-error of getting block dimensions consistent.
Choose based on how many times that set will get used, not just what it costs today.
Compare your options
| Factor | Build It Yourself | Buy Pre-Made |
|---|---|---|
| Upfront cost | Lower (lumber + tools) | Higher (per set) |
| Time investment | 1 to 2 weekends | Ready to ship |
| Consistency | Depends on your cuts | Factory-precise |
| Branding options | Full DIY control | Available through custom suppliers |
| Best for | One-time events, hobbyists | Rental fleets, agencies, repeat use |
Ask yourself these questions first
- Will this set get used more than five times a year?
- Do you need branded or custom-colored blocks?
- Do you have tools and storage space for a build?
- Is turnaround time under two weeks?
Answering “yes” to the first two usually points toward buying from a supplier who builds for commercial durability.
Step 2. Measure and cut your Giant Jenga blocks
Once you’ve settled on a size, buy kiln-dried pine 2x4s or 2x3s and cut them into 54 identical blocks. Consistency matters more than the exact dimension you pick, since even a quarter-inch difference between blocks throws off the stack and makes towers wobble before players even get a turn. Work from a single measured template rather than eyeballing each cut.
Fifty-four blocks that are almost identical will topple a stack faster than fifty-four blocks that are exactly the same.
Set up your cut list for Giant Jenga
For the 2.5″ x 3.5″ x 14″ size, you’ll need standard 2×4 lumber (actual dimensions run 1.5″ x 3.5″, so plan to rip them down to 2.5″ width first). Here’s a simple cut list to work from:
- Buy 14 eight-foot 2x4s (this yields roughly 56 blocks, giving you two spares for mistakes)
- Rip each board down to 2.5″ width using a table saw
- Cross-cut each ripped board into 14″ lengths
- Label blocks in batches of 6 as you cut, so you can spot warped boards early
- Set aside any block with visible knots near the edges, since those crack under stacking pressure
Use a stop block for accuracy
Clamp a stop block to your miter saw fence set at exactly 14 inches. This lets you cut all 56 blocks to the same length without remeasuring each one, which is where most DIY builds lose their consistency.
Step 3. Sand and finish each block for Giant Jenga
Raw cut lumber still has sharp corners and rough faces that will splinter hands after a few rounds of play. Sanding isn’t optional here, it’s what turns a stack of cut wood into something people will actually want to touch and stack fifty times in an afternoon. Start with 80-grit to knock down saw marks, then move to 150-grit for a smooth finish, and finish with 220-grit if the set is headed for kids’ events or repeated commercial use.
Sharp edges end a game fast, so round every corner before you touch a can of finish.
Round the edges first
Use a router with a quarter-inch round-over bit on all long edges of each block. This single step does more to prevent splinters than any amount of sanding alone, and it also makes stacked towers look cleaner and more finished.
Choose a finish that matches your use case
- Indoor or one-time event: a light coat of clear polyurethane, one to two coats
- Outdoor or repeat commercial use: exterior-grade polyurethane or spar varnish, three coats minimum
- Branded sets: paint the ends only, leave faces natural so text and logos stay legible
Let each coat cure fully, usually 24 hours, before stacking blocks to dry. Rushing this step leaves blocks sticky and prone to peeling after the first outdoor event.
Step 4. Build a case and stack for playing Giant Jenga
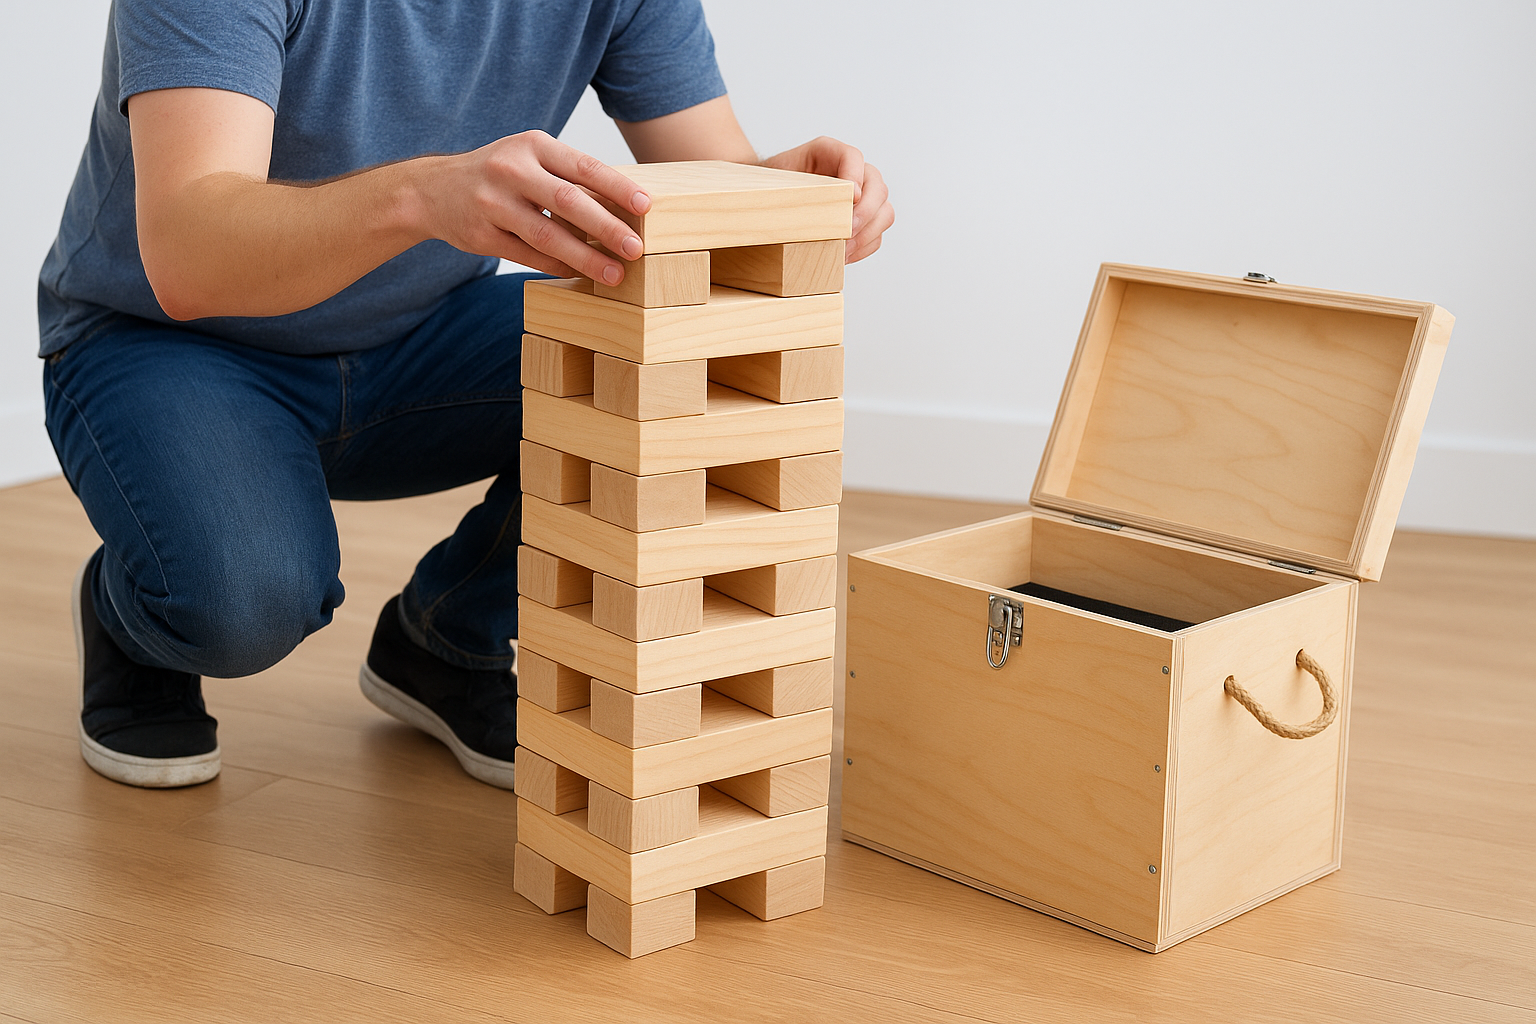
A finished set of 54 blocks is useless if it can’t travel without falling apart in the back of a truck. Building a carrying case protects your investment and makes setup at each event look professional instead of improvised. A simple plywood crate with rope handles works fine for occasional use, but a hinged lid and interior dividers keep blocks from shifting and chipping the new finish you just applied.
A set that arrives scratched from transport looks cheap before the first game even starts.
Build a basic case
- Cut 3/4″ plywood into a box roughly 15″ x 15″ x 30″ for the 14″ block size, leaving an inch of clearance on each side
- Add rope or webbing handles on both ends for two-person carrying
- Install a simple hook-and-eye latch or piano hinge for the lid
- Line the bottom with a thin foam sheet to cushion blocks during transport
Stack blocks for the first game
Stack three blocks per layer, rotating each layer 90 degrees from the one below it, until you’ve used all 18 layers. Keep the tower centered as you go since a slight lean early on multiplies fast by layer ten. This stacking pattern is the same one used in the tabletop version, just scaled up, and it’s what gives giant jenga its recognizable tower shape once you’re done.
Bringing Giant Jenga to life at your event
Giant Jenga earns its spot at any event because it’s simple to learn, fun to watch, and photographs well for social feeds. Whether you cut and sanded your own set or bought one ready to play, the real payoff comes when guests are gathered around the tower, laughing as it wobbles. Building your own set rewards patience and gives you full creative control, while buying pre-made saves time when your event calendar won’t wait for a weekend of sanding.
If your event lineup includes more than a wooden tower, though, think bigger. A branded arch, an air dancer, or a custom inflatable structure next to your Jenga setup turns a fun activity into a full brand experience people remember and photograph. TMP Inflatables has spent over 20 years designing exactly that kind of activation for agencies and event teams across North America. Get a quote and let’s build something your guests won’t stop talking about.