
You’ve probably seen photos of balloon arches that look perfect for about an hour before they sag, twist, or fall apart mid-event. A self inflatable balloon arch solves that problem differently: instead of stringing dozens of latex balloons onto a frame, you get a pre-shaped inflatable structure that fills with air in minutes and holds its form for the whole event, rain or heat included.
If you’re searching for this term, you likely want a reusable arch you can set up without a helium tank, a hundred balloons, or an hour of clipping and tying. That’s exactly what an automatic inflatable balloon arch delivers: plug it in, let the built-in blower do the work, and you’re done. No helium costs, no deflating balloons, no cleanup of latex scraps after the party.
This article breaks down what a self-inflatable arch actually is, how it differs from a traditional balloon arch kit, and what to look for in materials, sizing, and branding options before you buy. We’ll also cover what separates a flimsy backyard version from a commercial-grade inflatable arch built for repeated use at trade shows, product launches, and large-scale events.
Why a self inflatable balloon arch beats helium and DIY
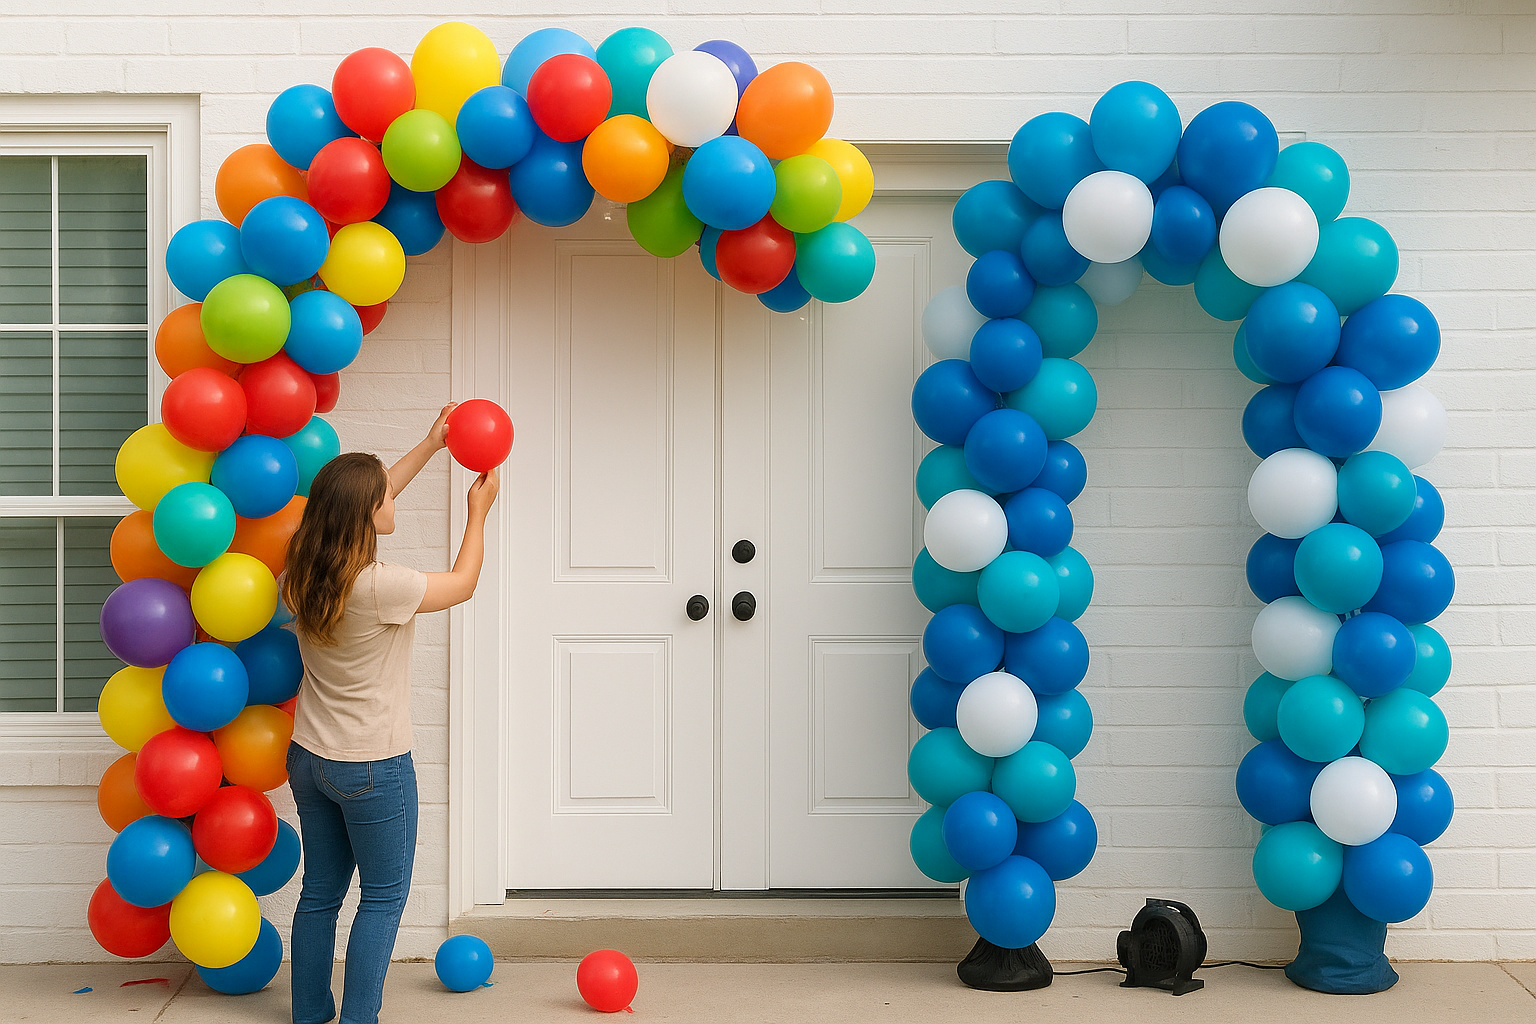
Helium tanks feel like the obvious choice until you actually rent one. A standard tank runs $80 to $150 for a single event, and that’s before you factor in the latex balloons themselves, the fishing line, the tape, and the hours spent clipping balloons into clusters. Helium also floats away. Balloons lose lift within 12 to 24 hours, which means an arch built the night before a morning event can sag by the time guests arrive. A self inflatable balloon arch skips helium entirely. It uses a small electric blower to hold its shape with regular air, so there’s no lift to lose and no tank to schedule, pick up, and return.
Self inflatable balloon arch Reason: The real cost of DIY balloon arches
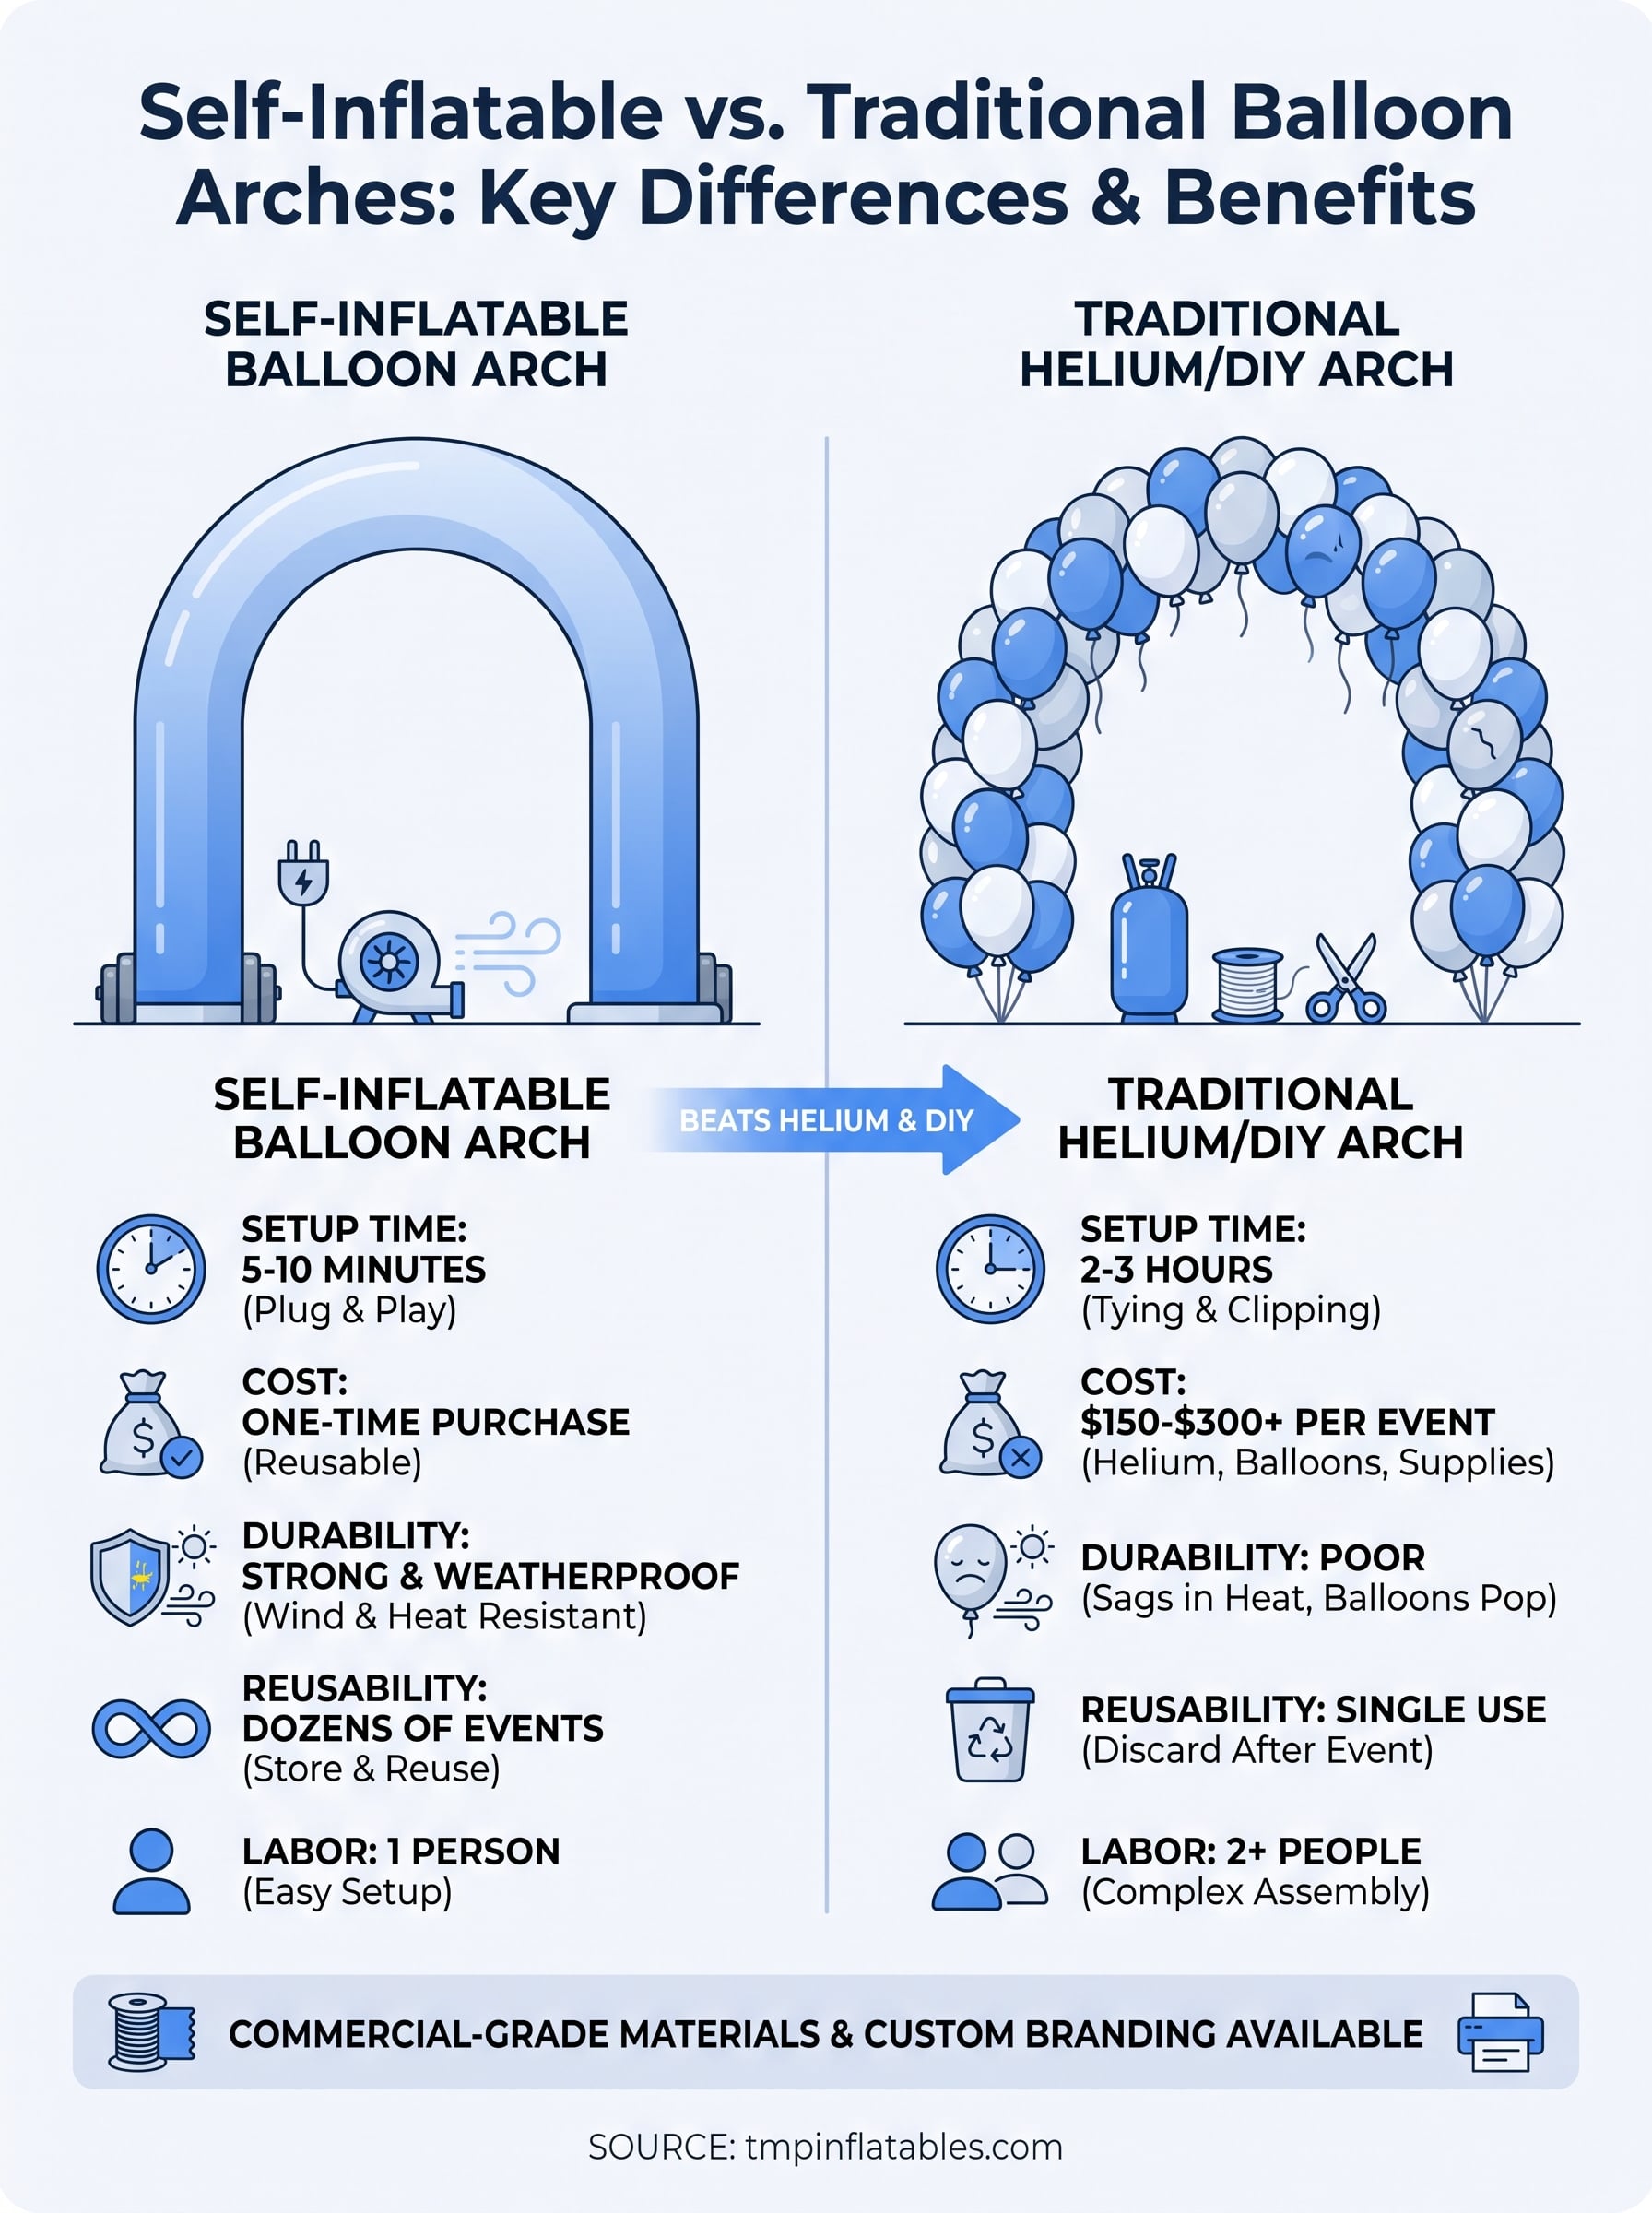
DIY arches also eat time you don’t have during event week. Building a balloon garland arch for a 10-foot doorway typically takes two people two to three hours, and that’s assuming no balloons pop during assembly. Wind, direct sun, and humidity all shorten a latex arch’s lifespan further, sometimes to under an hour outdoors. Compare that to an automatic inflatable balloon arch, which one person can inflate in 5 to 10 minutes and which stays fully formed for the entire event, indoors or out.
| Factor | Helium/DIY Balloon Arch | Self-Inflatable Arch |
|---|---|---|
| Setup time | 2-3 hours | 5-10 minutes |
| Cost per event | $150-$300+ (tank, balloons, supplies) | One-time purchase, reusable |
| Outdoor durability | Poor (wind, heat, humidity) | Strong (weighted, weatherproof material) |
| Reusability | None, single use | Dozens of events |
| Labor required | 2+ people | 1 person |
A self-inflatable arch turns a two-hour balloon project into a ten-minute plug-and-play setup, and you get to use it again next month.
Self inflatable balloon arch Reusability changes the math
Money is the biggest argument here, but it’s not the only one. Every helium arch and every latex garland gets thrown away after one use. A reusable arch made from commercial-grade PVC or oxford fabric can handle dozens of events over several years if you store and pack it properly between uses. For an event planner running 15 to 20 events a season, that single purchase replaces thousands of dollars in recurring balloon and helium costs. It also means you’re not scrambling to source hundreds of matching balloons on short notice when a client changes their event date.
Support matters just as much as material. Latex arches need constant babysitting during an event, since a single popped balloon anywhere in the garland creates an obvious gap that someone has to fix. Structures built with a continuous air chamber don’t have that failure point. If one small puncture occurs, the blower keeps the rest of the arch fully inflated while you patch it later, not mid-event. That kind of built-in redundancy is exactly why experiential marketing agencies and trade show teams have shifted toward inflatable structures for anything that needs to look sharp for eight or more hours straight, whether that’s a product launch entrance or a branded finish line at a 5K.
How to set up and use a self inflatable balloon arch
Setting up a self inflatable balloon arch is closer to pitching a small tent than assembling a balloon display. You unpack the deflated structure, connect the attached blower to a standard outlet, and let it fill with air. Most arches reach full shape in 5 to 10 minutes, and you don’t need any special tools, ladders, or a second person to hold anything in place while you work.
Step-by-step setup for the self inflatable balloon arch
Here’s the general sequence for getting an inflatable balloon arch kit ready before guests arrive:
- Unroll the arch on a flat, clean surface and check for any shipping creases that need to relax before inflation.
- Connect the built-in or included blower to a grounded outlet or generator.
- Let the blower run until the arch reaches full pressure, usually 5 to 10 minutes depending on size.
- Anchor the base with sandbags, stakes, or water weights, especially outdoors.
- Position any banners, toppers, or branded panels once the structure is fully upright.
Setup for a self-inflatable arch takes less time than most people spend picking balloon colors for a DIY version.
Running the self inflatable balloon arch for the full event
Once inflated, the blower keeps running continuously to maintain pressure, so plan for a nearby power source for the entire event, not just setup. Generators work fine for outdoor locations without outlets, and most commercial blowers draw low enough wattage that a standard portable unit handles it without strain. Wind is the main variable to watch: gusts over 25 mph call for extra anchoring or moving the arch to a more sheltered spot, since even a weighted inflatable arch balloon structure can shift in sustained high wind.
Teardown mirrors setup in reverse. Unplug the blower, let the air release through the built-in valve, and fold the material along its original seams before packing it into the storage bag. Skipping this step and stuffing the arch in loosely is the fastest way to shorten its lifespan, since creased material stored under pressure for weeks can weaken at the fold lines. A few extra minutes of careful folding after each event is what makes a reusable arch actually last for the dozens of uses it’s built for.
What to look for when buying a self inflatable balloon arch kit
Not every listing that calls itself a self inflatable balloon arch kit is built for real event work. Some are made for a single backyard party and won’t survive a second setup, while others are engineered for weekly commercial use. Knowing what separates the two before you buy saves you from replacing a cheap arch after two or three events.
Material and construction of the self inflatable balloon arch
Material is the first thing to check. Look for commercial-grade PVC or oxford fabric rated for outdoor use, with double-stitched seams and a continuous air chamber design rather than segmented tubes that can fail independently. Cheaper vinyl arches often use single-stitch seams that split under wind load or repeated folding.
The material and seam quality determine whether your arch lasts three events or three hundred.
Size and blower specs of the self inflatable balloon arch
Size needs to match your actual venue, not just the photo that looked good online. A 10-foot arch works for most retail entrances, while trade show booths and vehicle displays often need 16 to 20 feet of clearance. Check blower wattage too, since underpowered blowers struggle to maintain shape in windy or high-traffic areas.
| What to Check | Why It Matters |
|---|---|
| Seam construction | Prevents air loss and tearing under wind |
| Blower wattage | Keeps shape stable in wind and heat |
| Included anchors | Determines outdoor stability options |
| Printing method | Affects color fade and branding lifespan |
| Warranty length | Signals confidence in commercial durability |
Printing and branding options of the self inflatable balloon arch
Branding capability matters if you’re buying for marketing use rather than a one-off party. Dye-sublimation printing bonds color into the fabric itself, so logos and graphics don’t peel or crack the way vinyl decals do after repeated setups. If you plan to reuse the same inflatable balloon arch for multiple campaigns, ask whether the supplier offers replaceable branded panels instead of a single printed skin, since that lets you update messaging without buying a new structure each time.
Finally, confirm what support comes with the purchase. A supplier who answers questions about repair kits, spare blowers, and shipping timelines before you buy is one you can count on when something needs fixing mid-season.
Custom branded arches for trade shows and promotions
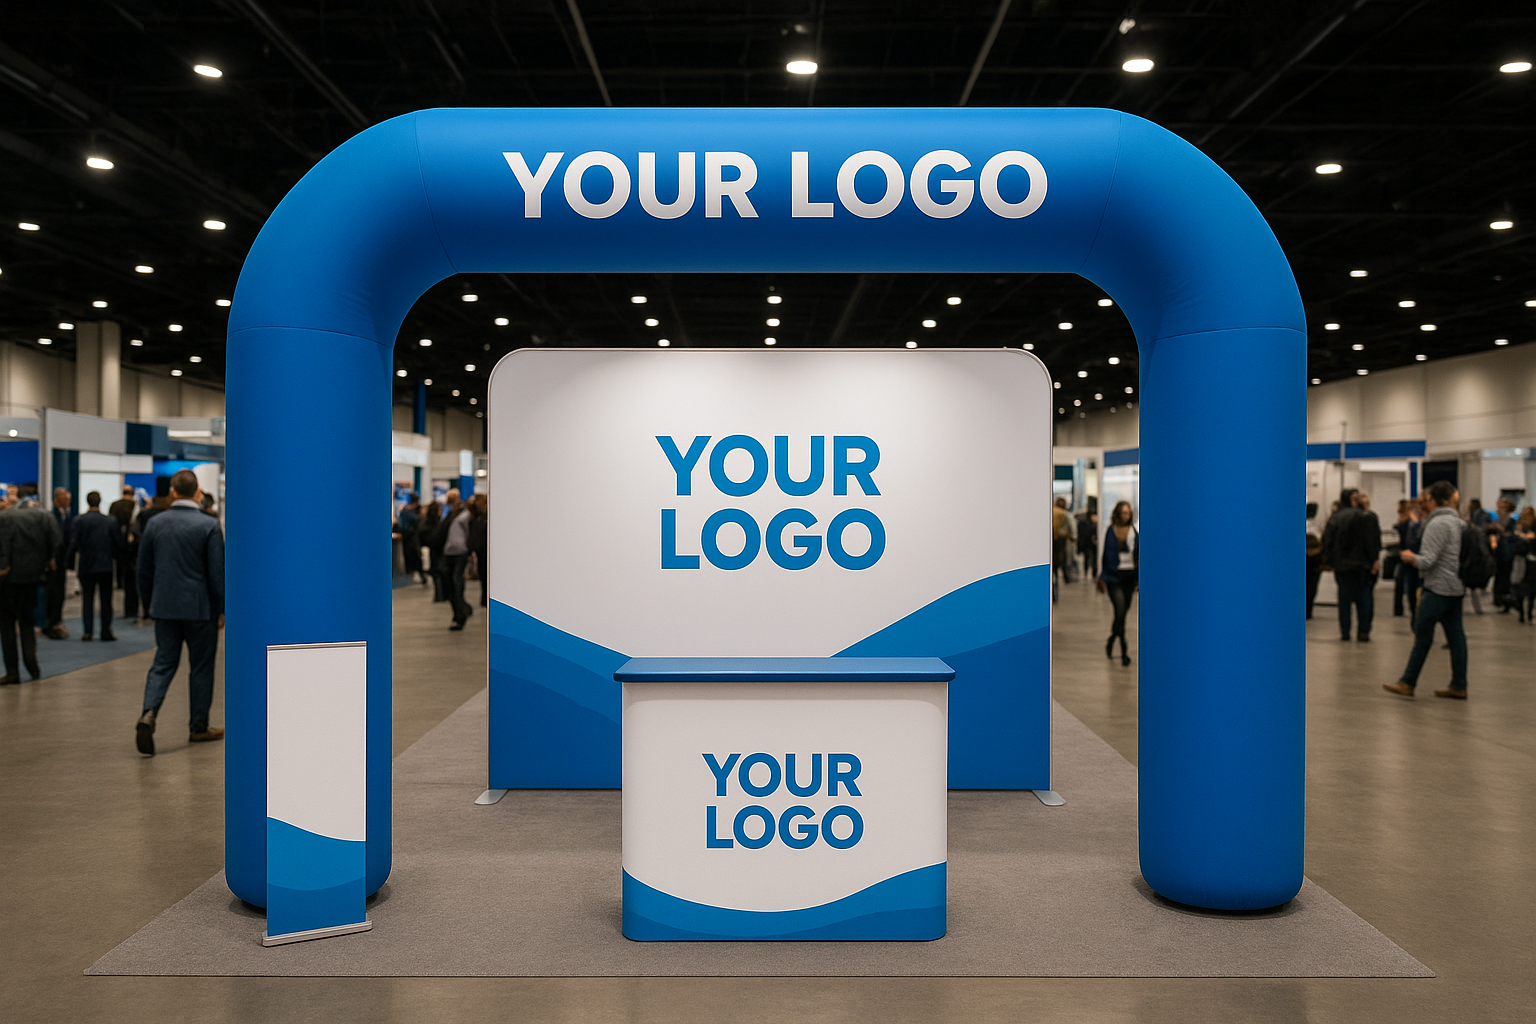
Trade show floors are loud, visually speaking. Dozens of booths compete for the same five seconds of attention, and a flat banner rarely wins that fight. A custom inflatable arch printed with your logo and brand colors creates a physical entry point that people walk through, not past, which is why experiential marketing teams treat arches as a structural part of booth design rather than an afterthought decoration.
Why branded arches outperform flat signage
Height and dimension do the heavy lifting here. An arch rising 12 to 16 feet above a booth is visible from across a convention hall in a way a tabletop sign or pull-up banner never will be, and it photographs well for attendees posting their own event content. Retail activations and product launches use the same logic: an arch over a store entrance or pop-up location signals “something is happening here” before a shopper reads a single word of copy.
A branded arch works as both wayfinding and advertising, guiding foot traffic while carrying your message at the same time.
Getting the design and production right
Ordering a custom piece means working through a few decisions upfront with your supplier:
- Artwork format: vector files print sharper than low-resolution logos stretched to fit a 16-foot span.
- Color matching: confirm Pantone matching if brand consistency across multiple booths matters.
- Turnaround time: rush production for a trade show in three weeks is common, but confirm it before committing to a date.
- Panel replacement: ask whether branded skins can be swapped for future campaigns without replacing the whole frame.
Shipping deserves attention too, especially for agencies running events across the US, the Caribbean, or Latin America. A supplier with international shipping experience and direct staff communication catches sizing or timeline problems before they become a show-day emergency.
Choosing the right arch for your event
A self inflatable balloon arch earns its place at any event where you need a reliable, reusable structure instead of a one-night balloon garland. Backyard parties can get away with a basic kit, but trade shows, product launches, and multi-event marketing calendars need commercial-grade material, real branding options, and a blower built for hours of continuous use. Weigh venue size, wind exposure, and how often you’ll reuse the piece before you settle on a supplier. Looking for more party inspo? Checkout some fun disco themes.
Getting the size, seams, and printing right the first time saves you from replacing a cheap arch after a few uses. If you’re planning a branded entrance for an upcoming trade show, retail launch, or seasonal campaign, talk to a team that builds these structures for commercial use rather than backyard parties.
Get a quote from TMP Inflatables and get a custom arch sized and printed for your exact event.
