

You don’t need a massive footprint to make a massive impression. Some of the most memorable exhibits at any convention happen inside a standard 10×10 space, built by teams running on creativity instead of cash. The trick is knowing which small trade show booth ideas actually pull traffic and which ones just look good on Pinterest.
A tight budget forces sharper decisions. That’s not a disadvantage, it’s a filter. The brands that win attention in small spaces commit to one or two bold visual elements rather than cramming everything they offer into a few square feet. Think vertical displays, smart lighting, and custom inflatables that draw eyes from across the floor.
At TMP Inflatables, we’ve spent over 20 years building custom inflatable displays for trade show exhibitors who need to stand out without blowing their entire marketing budget. We’ve seen what works up close, literally. Below are nine practical booth ideas that make small spaces punch well above their weight.
1. Use a custom inflatable as a booth beacon
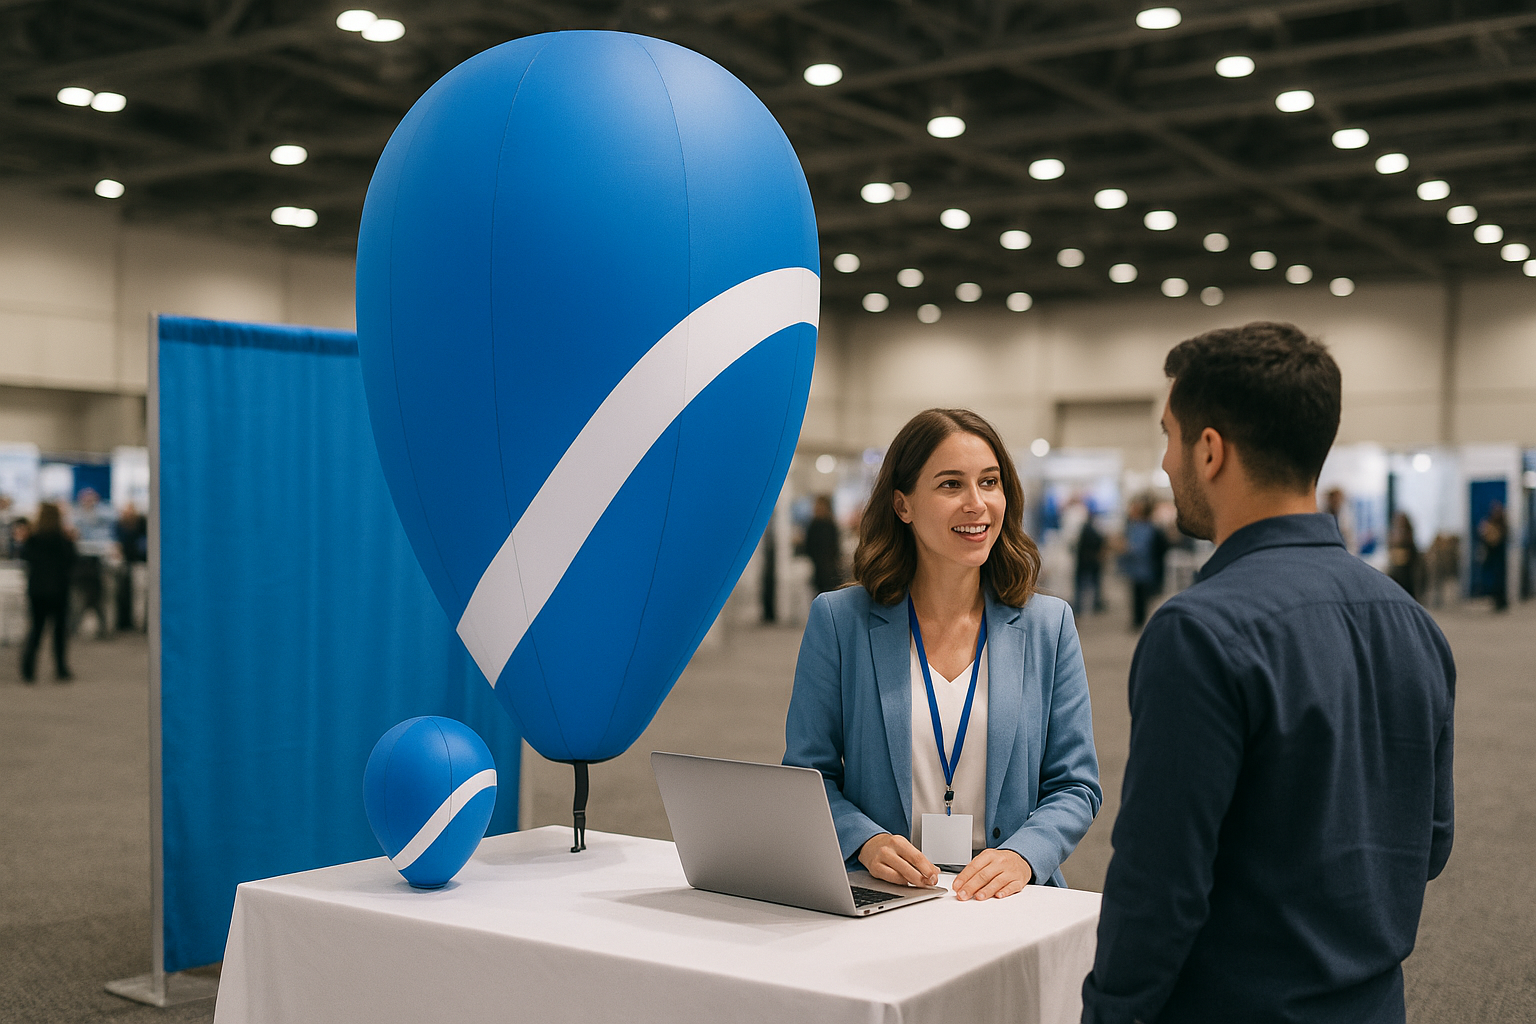
A custom inflatable gives your booth a visual anchor that fabric banners and pop-up frames simply can’t match. Height and movement do the heavy lifting in a crowded exhibit hall, and an inflatable delivers both from a small footprint. Even a compact tabletop inflatable or a single column balloon in your brand colors can redirect foot traffic that would otherwise walk straight past your space.
Why inflatables win in small booth spaces
Floor space is the most expensive thing at any trade show. Inflatables grow upward, so they maximize the vertical real estate you already paid for without eating into the square footage you need for conversations and demos. Most exhibit halls allow displays up to 8 feet tall in a 10×10 space, which means a custom character, logo replica, or shaped balloon can pull eyes from 50 feet away.
A display that gets noticed from a distance does half your staffing job before anyone opens their mouth.
Budget-friendly inflatable options that still look premium
You don’t need a 20-foot rooftop balloon to get results. Tabletop inflatables, column balloons, and inflatable logo shapes all cost significantly less than large-format pieces and still deliver strong brand visibility. Custom air dancers and arch entrances fall in the mid-range budget tier and work well as attention signals at the front of your booth opening.
What to confirm with the venue before you order
Before placing any order, check the venue’s exhibit rules on inflatable displays. Some show halls restrict helium, limit display heights, or require fire-retardant certifications on all materials. Ask your vendor for a spec sheet and compliance documentation before the show date so you avoid last-minute problems on setup day.
How to measure impact on traffic and leads
Track foot traffic and lead scans during time blocks throughout the day, then compare them against shows where you didn’t use the inflatable. Simple counters and badge scan totals give you a baseline. If your booth conversations increase when the inflatable is up, you have clear proof the visual investment is working.
2. Go vertical with a clean back wall and bold text
Your back wall is the most visible real estate in a 10×10 booth. A clean, high-contrast backdrop with bold text communicates your value in seconds and gives attendees a reason to stop before anyone on your staff says a word.
What to put on your backdrop so people get it fast
Keep your headline to five words or fewer and make sure it answers one question: what do you do? Skip the internal tagline that only your team understands. Your company name, a single benefit statement, and a call to action are all you need on the surface.
How to design for distance in a 10×10 booth
Attendees read your backdrop before they reach your booth, so it needs to work from at least 20 feet away.
Use high-contrast color pairings and a minimum font size of 100pt for your primary headline. Thin fonts and low-saturation backgrounds disappear under harsh exhibit hall lighting, so test a printed proof before finalizing your file.
Budget print options and materials that travel well
Fabric tension displays and retractable banner stands both pack flat, set up without tools, and cost less than rigid panel systems. Fabric resists creasing better than vinyl on repeat trips, which matters when you’re using these small trade show booth ideas across multiple events per year.
Common backdrop mistakes that waste space and money
Cluttered layouts and too many fonts are the fastest ways to weaken a backdrop’s impact. Stick to two typefaces and leave at least 30% of the surface as negative space so your headline has room to breathe.
3. Remove the table barrier and open your layout
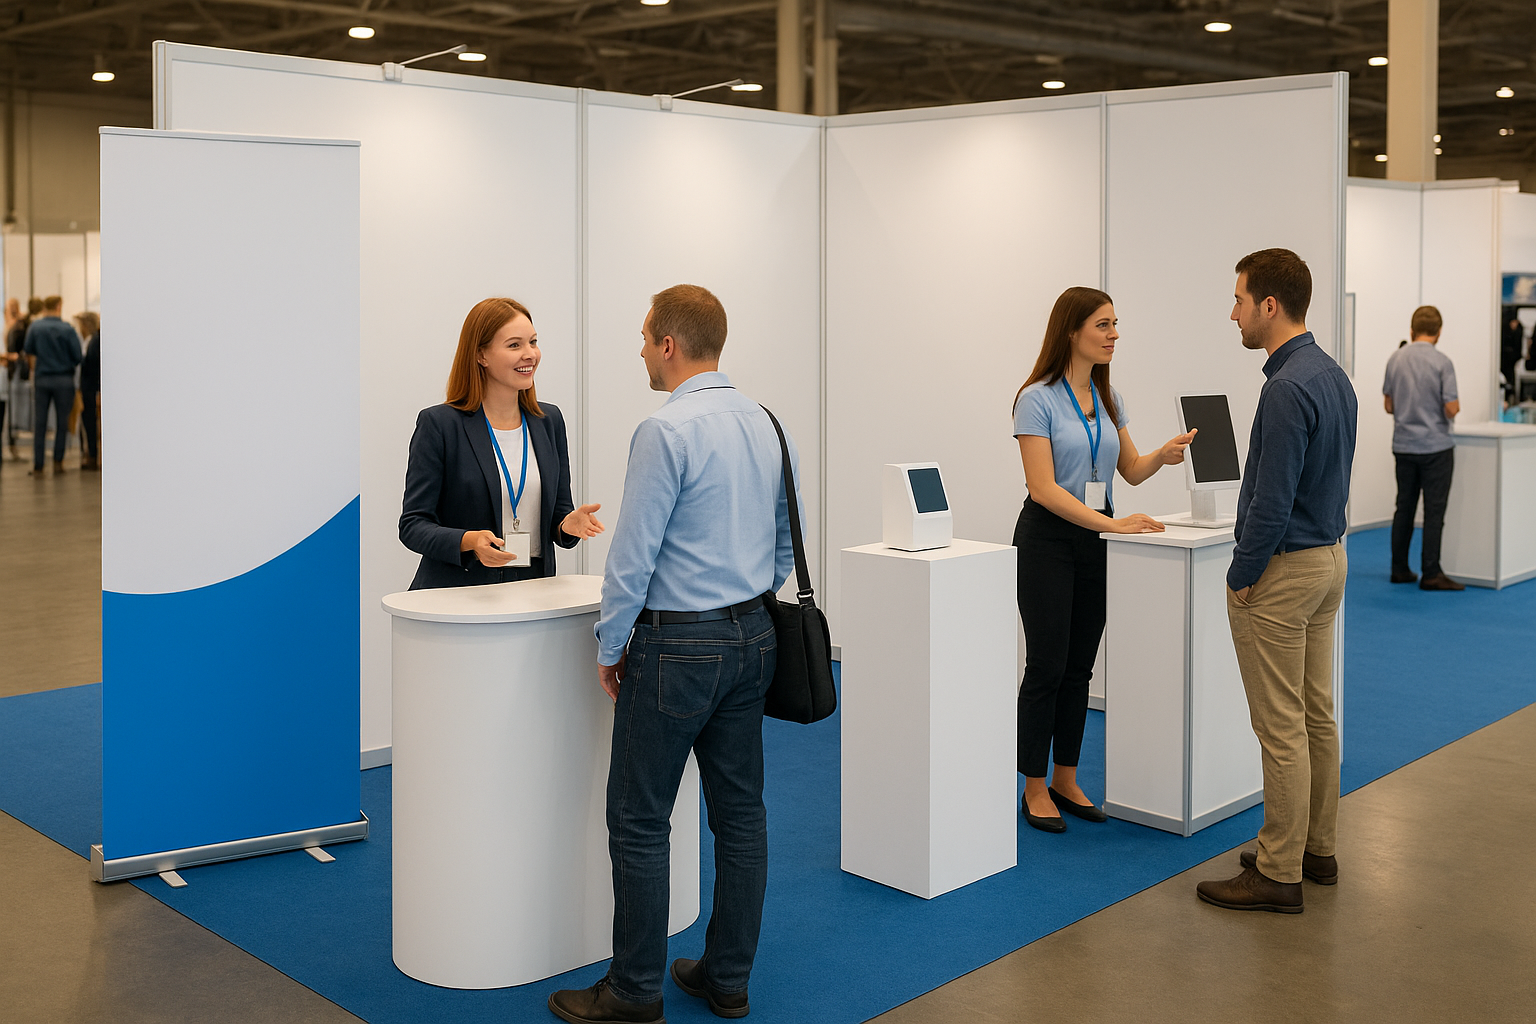
A standard folding table placed across the front of a 10×10 booth sends one clear message to passing attendees: stay out. Removing that barrier and rethinking your floor plan is one of the most effective small trade show booth ideas that costs you nothing to execute.
Layouts that invite people in instead of blocking them
Position any product displays or demo stations along the sides or back of your booth instead of the front. This creates a natural entry point and pulls visitors into the space rather than stopping them at the edge. An open front increases dwell time because people feel less pressure when they can step in without committing.
The easier you make it to enter your booth, the more conversations you will have by the end of the day.
How to set up for demos, conversations, and lead capture
Place your lead capture device and demo area toward the back wall so staff conversations happen inside the booth, not at the entrance. This setup keeps traffic flowing and gives your team a clear path to move attendees through a short, focused interaction.
Small furniture upgrades that look intentional
Swap the standard table for a tall bar-height counter or a small branded pedestal. These pieces take up less visual space, serve as product stands, and look deliberate rather than improvised.
Staffing moves that make a small booth feel bigger
Position one staff member near the front to greet, and a second deeper in the space to close conversations. This two-person flow prevents bottlenecks and keeps your booth feeling active without feeling crowded.
4. Upgrade your flooring for comfort and contrast
Most exhibitors spend hours planning their back wall and signage then walk into the show on bare concrete. Flooring is one of the most underrated small trade show booth ideas because it defines your space visually and keeps both staff and visitors comfortable throughout a long show day.
Why flooring changes how long people stay
Comfortable flooring directly increases dwell time, which gives your staff more opportunities to start conversations and capture leads. Attendees who stand on padded surfaces linger longer than those on hard concrete, and a distinct floor treatment visually signals that your booth is a separate, intentional space worth stepping into.
A clearly defined floor boundary does the same job as a physical wall without blocking your sight lines or traffic flow.
Low-cost flooring options that look finished
Foam interlocking tiles and low-pile carpet squares both pack flat, set up in minutes, and cost far less than rental flooring from show services. Choose a color that contrasts your display to sharpen your booth’s visual footprint from a distance.
How to keep edges flat and avoid trip hazards
Tape all perimeter edges with gaffer tape before the show opens. Interlocking tiles can lift under foot traffic, so check corners hourly and press them back down before they create a hazard.
What to pack for setup and emergency fixes
Bring extra gaffer tape, a rubber mallet for stubborn tile connectors, and two spare tiles in case any pieces get damaged during transport or setup.
5. Build a modular signage system you can reuse
Buying new signs for every event drains your budget fast. A modular signage system lets you swap panels, update messaging, and adapt for different audiences without starting over each time. This is one of the most cost-effective small trade show booth ideas that compounds in value across your full show schedule.
How to split messaging across a banner set
Break your signage into three clear zones: brand recognition, your core offer, and your call to action. This structure lets you reprint a single piece when your messaging changes instead of replacing the whole set. Keeping each banner independent also lets you test different messages at different shows without extra production cost.
How to tailor one booth kit to different events
Build your base panels around neutral backgrounds and consistent brand colors so they read well at any show. Then create a small set of swappable inserts that reflect the specific audience or promotion you’re targeting. One flexible kit costs a fraction of what you’d spend ordering custom displays for each individual event.
A well-structured modular kit will outlast any single-event display by years.
Where QR codes help and where they hurt
QR codes belong at eye level on your offer or action panel, not on tall banners where attendees struggle to hold their phone steady. Every code should direct to a mobile-optimized landing page, not your standard desktop homepage, or you’ll lose the lead before it starts.
A quick modular signage checklist for a 10×10
Before each show, verify your kit is complete and every piece is production-ready:
- Brand panel: logo and tagline readable from 20 feet
- Offer panel: one benefit statement and a product visual
- Action panel: QR code or lead capture prompt
- Event insert: swappable piece for show-specific messaging
6. Add movement with a looping screen or light
Static displays compete with dozens of identical static displays on the floor. A looping screen or LED strip light gives your booth a dynamic edge that draws eyes naturally, even from attendees who aren’t actively looking. These are two of the most practical small trade show booth ideas for exhibitors who want more visual pull without a complicated setup.
What to show on a loop so it pulls people in
Keep your loop under 60 seconds and lead with your strongest visual in the first five seconds. Short product demos, before-and-after comparisons, and bold animated text work better than talking-head videos in a loud exhibit hall where no one is wearing headphones. Strong loop content typically includes:
- A single benefit statement with your logo visible throughout
- A product visual or real-world use case
- A closing frame with your call to action
How to run video without relying on show Wi-Fi
Store your loop file on a USB drive or SD card and set your media player to autoplay and repeat. This removes any dependency on internet access and keeps your display running without interruption.
Download everything to a local drive before the event, because show floor Wi-Fi is unreliable and not worth the risk.
Budget-friendly screen, mount, and power setups
A 32-to-43-inch consumer monitor mounted on a lightweight stand covers most 10×10 booths without overwhelming the space. Pair it with a mini PC or media stick to run your loop at a fraction of what a rental screen costs.
Audio and brightness rules to avoid complaints
Set your screen brightness between 60 and 80 percent to avoid washing out under overhead lighting. Keep audio off or below conversation level, since loud booth audio irritates neighboring exhibitors and rarely helps you close more leads.
7. Create one simple interactive hook
Passive displays compete on visuals alone. An interactive element gives attendees a reason to stop, touch, and engage, which buys your staff time to start a real conversation. You only need one strong hook to make this work, and it’s one of the most practical small trade show booth ideas you can run without extra square footage.
Interactive ideas that work in tight footprints
Small booths work best with low-setup activities that don’t eat into your conversation space. A spin-to-win wheel, a short product demo station, or a digital quiz on a tablet all fit comfortably within a 10×10. Pick the one that creates the most natural opening for your team to ask a qualifying question.
How to align the activity with your offer
Your interactive hook should connect directly to what you sell and who you sell it to. A product demo works better than a prize wheel if your offer needs explanation. Alignment between the activity and your pitch shortens the gap between engagement and a qualified lead conversation.
If the activity has nothing to do with your product, you’re attracting curiosity, not buyers.
How to manage lines, noise, and crowd flow
Keep your activity positioned to the side of your booth entrance, not directly in the center, so it doesn’t block foot traffic. Set a 30-second time limit per participant to prevent lines from stacking and discouraging others from stopping.
How to turn interactions into qualified leads
Require a badge scan or contact exchange before each interaction begins. This ties every engagement to a lead record automatically, so you leave the show with a clean contact list instead of a pile of loose business cards.
8. Use smart swag with a clear lead capture trade
Cheap swag drains your budget without producing a single qualified lead. Smart swag decisions tie giveaways directly to your lead capture process so every item you hand out represents a real contact, not just a cost. This is one of the small trade show booth ideas that separates experienced exhibitors from teams that hand out stress balls and hope for the best.
What swag people keep versus toss
Attendees keep swag that solves a problem at the show or back at their desk. Portable chargers, quality pens, and branded notebooks consistently outperform generic trinkets because they have a clear use case. Skip anything with no obvious function or that only works as a dust collector.
How to gate swag without annoying attendees
Place your best swag item behind a badge scan rather than leaving it on an open table. Frame the exchange clearly: scan your badge, get the item. A simple, transparent process feels fair to attendees and guarantees every piece you give out connects to a lead record.
Gating your swag is not a barrier, it is a filter that separates browsers from buyers.
How to track who took what and follow up fast
Use your badge scanner app to tag each lead at the point of exchange so you know exactly which item they received. This lets your follow-up email reference what they took, which increases open rates and makes the message feel personal.
Budget ranges and quantity planning by show size
Order 10 to 15 percent more units than your expected lead goal to cover spillage and damaged pieces. Reserve premium swag for your top interactions and keep a lower-cost backup item for general floor traffic.
9. Cut hidden costs with shipping and reuse planning
Most exhibitors focus their budget planning on the visible stuff: displays, swag, and staff travel. The hidden costs of shipping, drayage, and last-minute production often hit harder than any line item you planned for. Controlling these costs is one of the small trade show booth ideas that protects your budget across the entire show season, not just a single event.
The budget killers most exhibitors miss
Drayage fees and overtime labor charges are the two costs that consistently blindside first-time exhibitors. Drayage, the charge for moving freight from the loading dock to your booth, can equal or exceed your original shipping cost depending on the show. Request the show’s official drayage rate card before you book so you can factor it in accurately.
Budget for drayage before you commit to a show, because ignoring it is how exhibitors blow their entire display budget before setup even starts.
How to reduce drayage, labor, and last-minute fees
Ship your materials in a single consolidated case or crate instead of multiple loose boxes. Fewer pieces mean lower handling fees. Order all printed materials at least three weeks out to avoid rush production charges that can double your print cost overnight.
What to buy once and reuse across multiple shows
Invest in durable display hardware like aluminum frames, tension fabric systems, and hard-shell shipping cases. These pieces absorb their cost across every event you attend, so the per-show expense drops significantly year over year.
A simple trade show budget breakdown to follow
Split your total budget across five clear categories: display production, shipping and drayage, show services, swag, and staff travel. Assign a fixed percentage to each category before you spend anything so no single line item runs over without a deliberate trade-off elsewhere.
Next steps
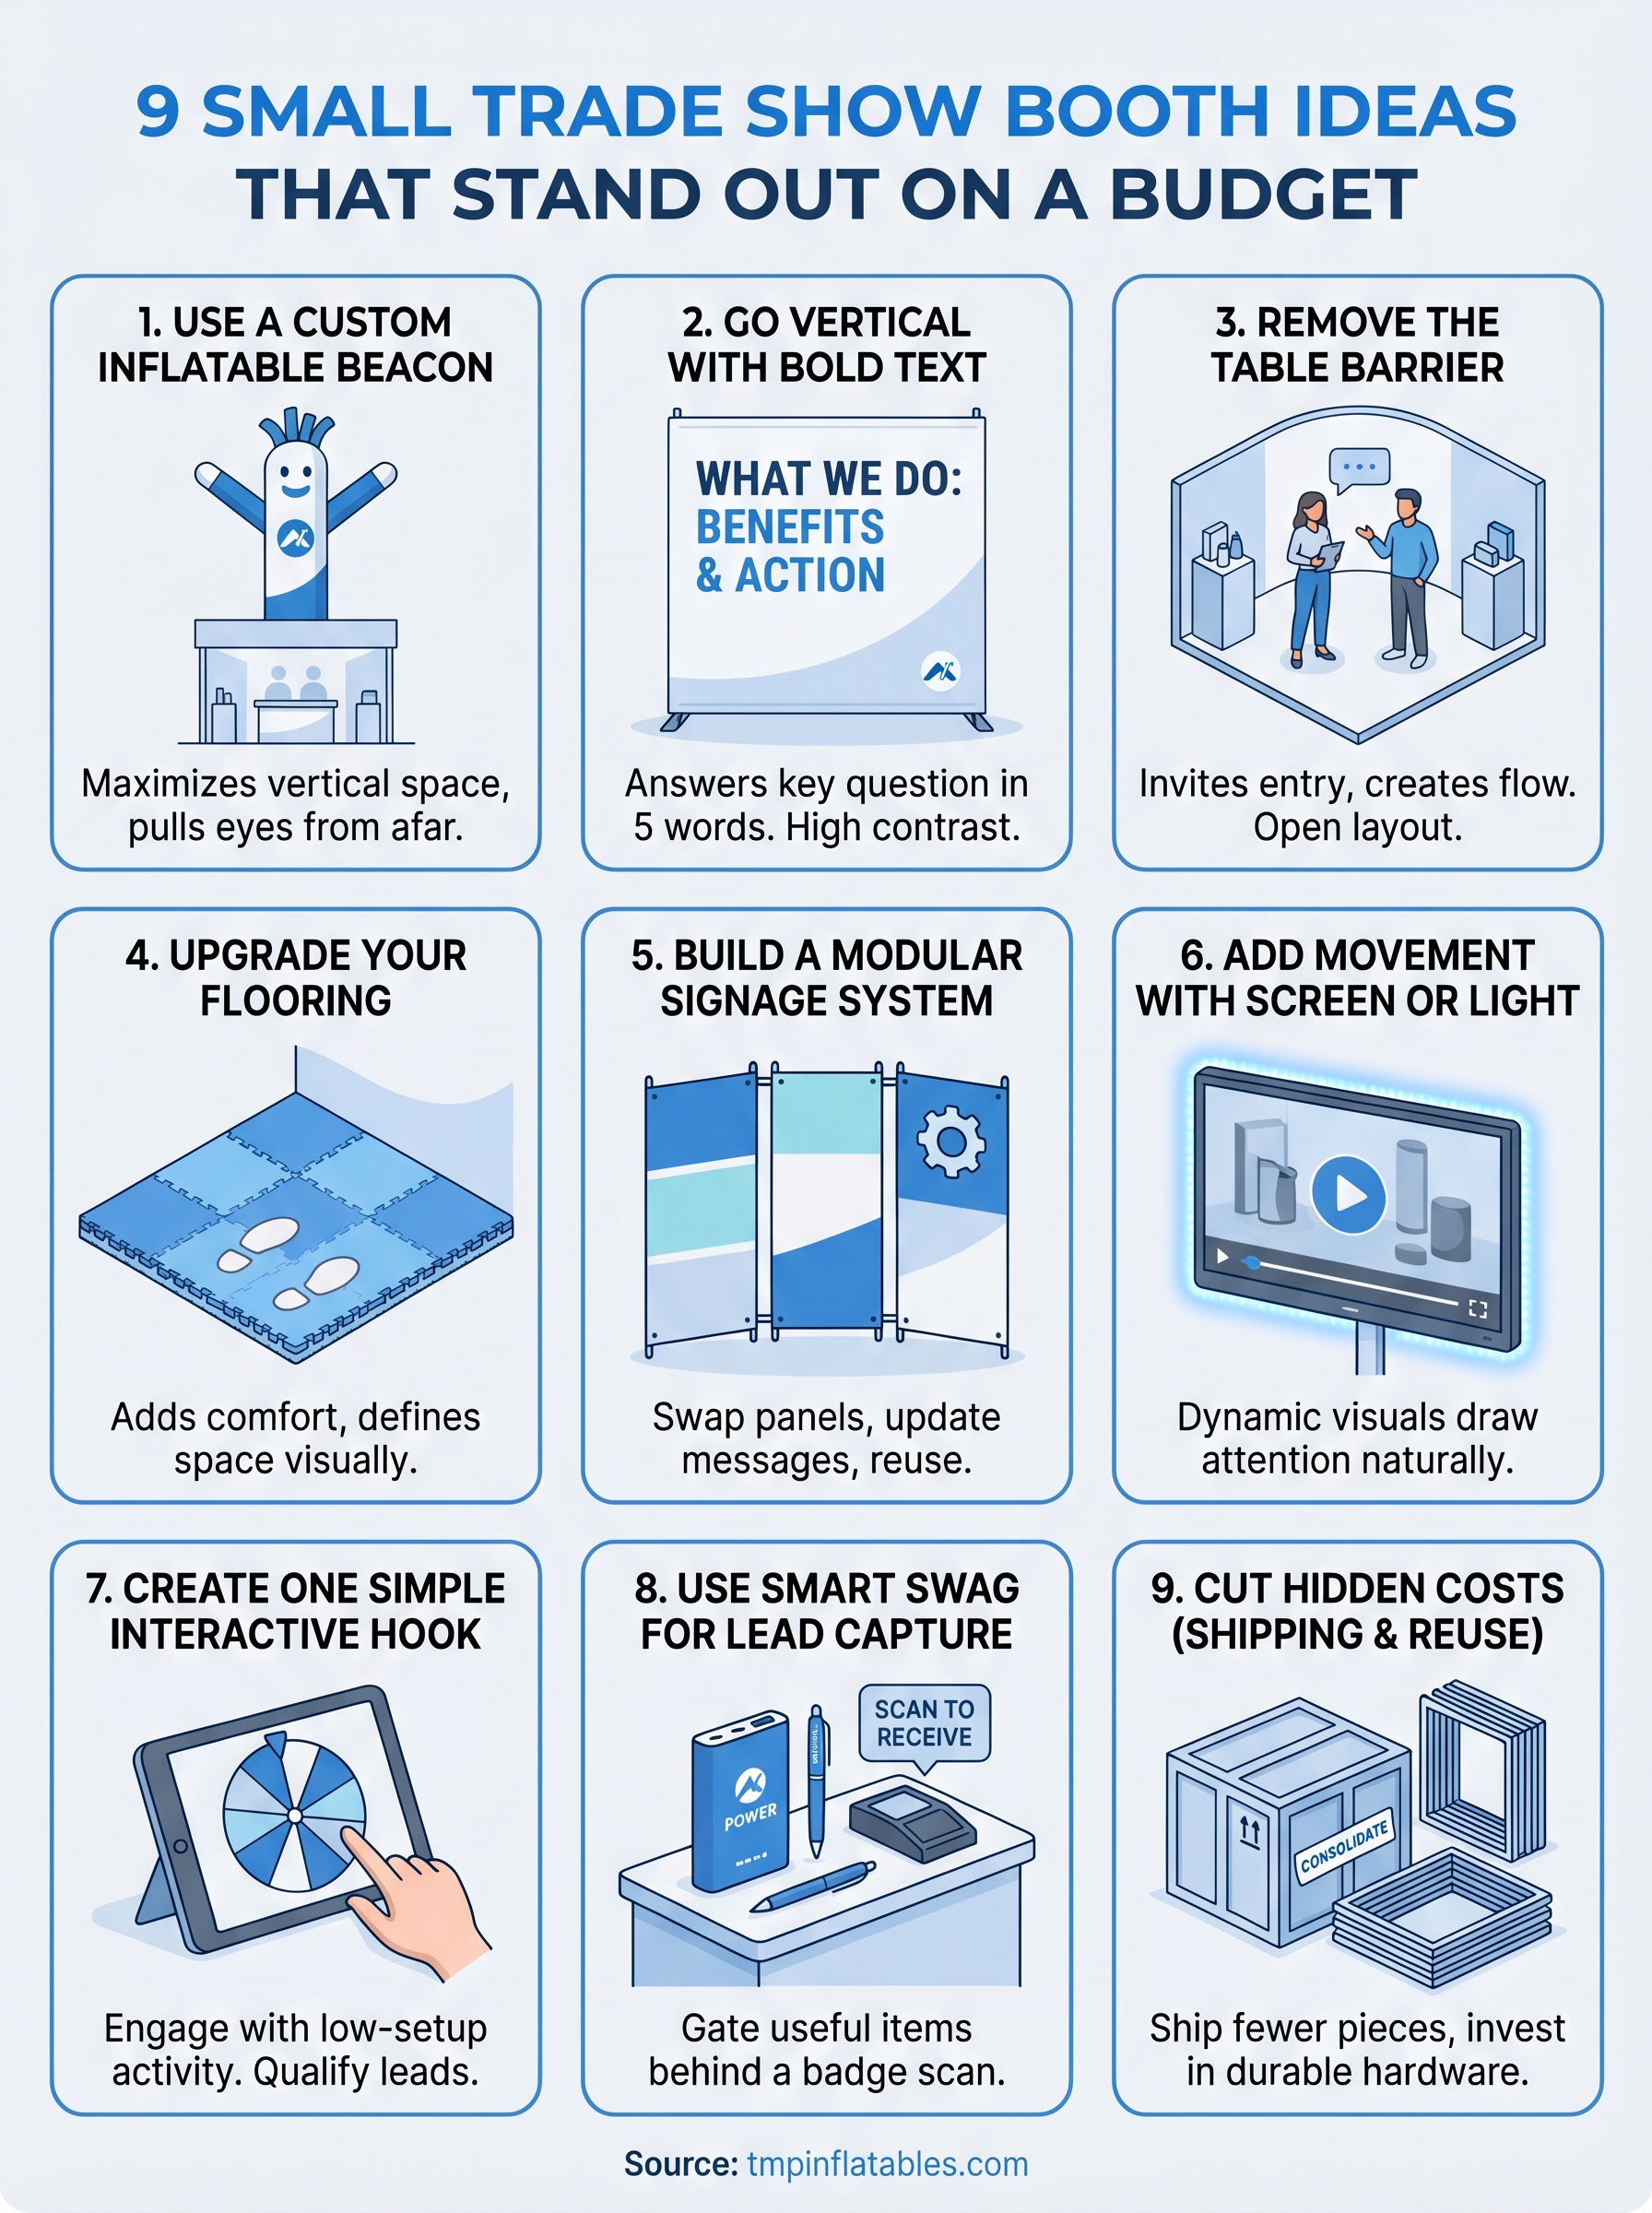
Every idea on this list works on its own, but the exhibitors who get the most out of a small budget combine two or three of these strategies into a single, focused booth plan. Pick the elements that fit your brand, confirm your venue’s rules early, and lock in your display production before the rush fees kick in. The small trade show booth ideas that consistently pull the most traffic are the ones that commit to a clear visual anchor instead of spreading budget across too many directions.
If a custom inflatable display is on your shortlist, the next step is getting a quote that fits your specific event footprint and timeline. TMP Inflatables has built custom pieces for exhibitors at every budget level, and the team can help you find an option that works for your booth dimensions and show schedule. Request a custom inflatable quote and get your display project moving today.